Cool dinosaur card holder
DIY cool dinosaur card holder
The dinosaur era lives on in our house. Dinosaurs are still immensely interesting according to the little man. I've made jars with a dinosaur on them before. Since I still had some dinosaurs left after that DIY, I went to work again.
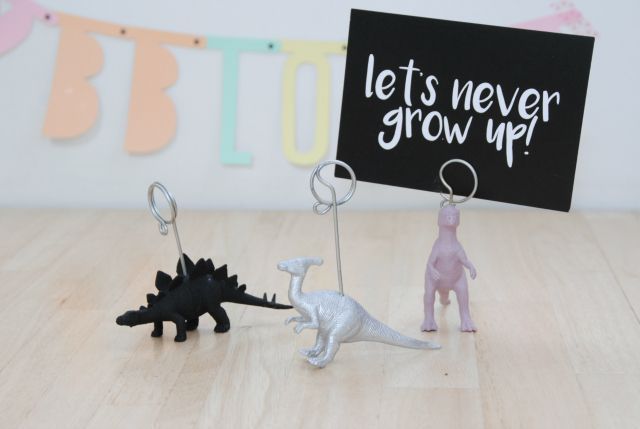
This time I made a dino card holder. This one is also very popular with the little man.
DIY cool dinosaur card holder
The dino piggy banks I made earlier are still on the small table of the children. Prominently present in the living room. That's why I made them silver and black at the time. Since our decor has a lot of white and gray, with soft pink accents, that looks great.
The dinosaurs that I had left over from the conscious bag of the Action therefore also had to fit into the interior. With some paint I transformed them into cool dino card holders.
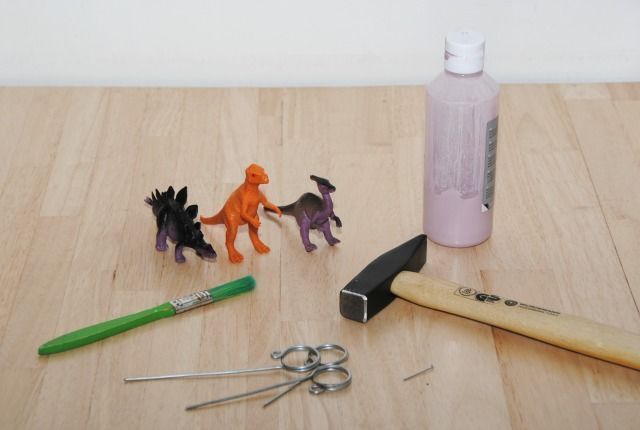
What do you need for the dinosaur card holder?
- plastic dinosaurs (or other animals of course)
- nail
- hammer
- old metal photo holder or thick iron wire
- combination pliers
- paint
- brush
- possibly a sponge
How to make the dinosaur card holder?
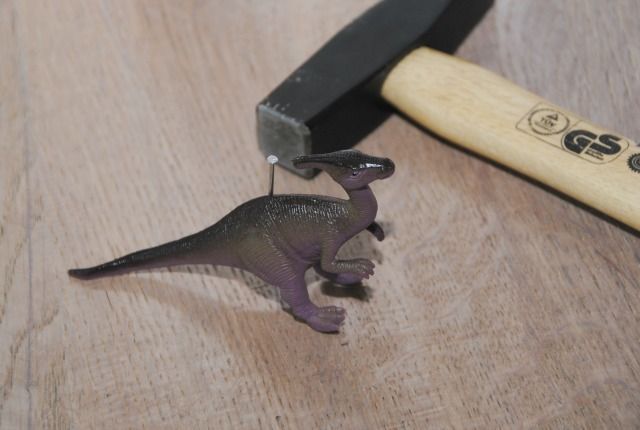
First of all, you determine where in the dino you want to stick the metal holder. Do this as much as possible in the middle so that the toy keeps its balance. With a nail you poke a hole in the toy, hit it well with a hammer.
You can leave them nailed so that you have a grip while painting or you can take it out immediately.
I used an old metal photo holder that everyone had in their house in the Stone Age. This was still in the attic and so I cut off three metal holders with combination pliers. If you don't have this, you can also twist a similar shape from sturdy metal wire (for sale at the hardware store) with combination pliers.
Then I painted the three dinosaurs each a different color. I used pink decorative paint from the Action and silver and black decorative paint from the V&D. Okay, that is no longer there, but they also have a lot of paint at the Hema.
The dinosaurs needed a few layers before they were painted with good coverage. Let this dry well.
Now all you have to do is pull the nail out with the combination pliers, if you haven't already. You can now insert the metal holders. Nice card or a cool photo in it and your card holder is ready.
Also very nice as a gift!
Have you also started crafting with plastic animals?? I'm curious!
♥ ♥ ♥ Affiliate links are used on Fulltime Mama. This means that if you click on one of the links, we may receive a small commission. It costs you nothing extra, but it does give us something. With these proceeds we can maintain this website. We also sometimes get paid for an article or we get a product in exchange for a blog post.
Our opinion therefore remains unchanged and honest. For more information you can read the disclaimer. ♥ ♥ ♥
